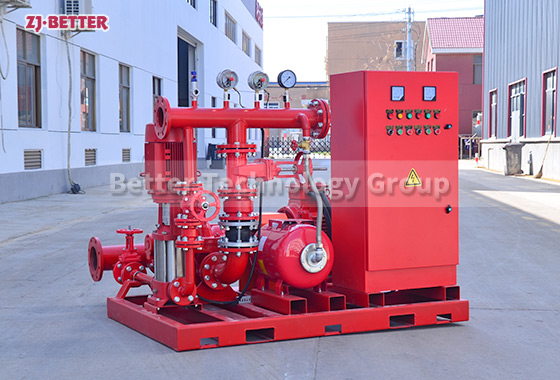
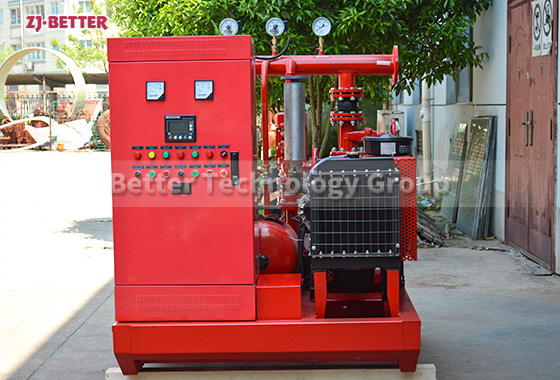
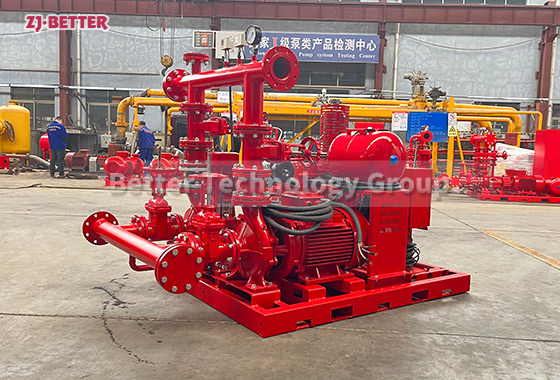
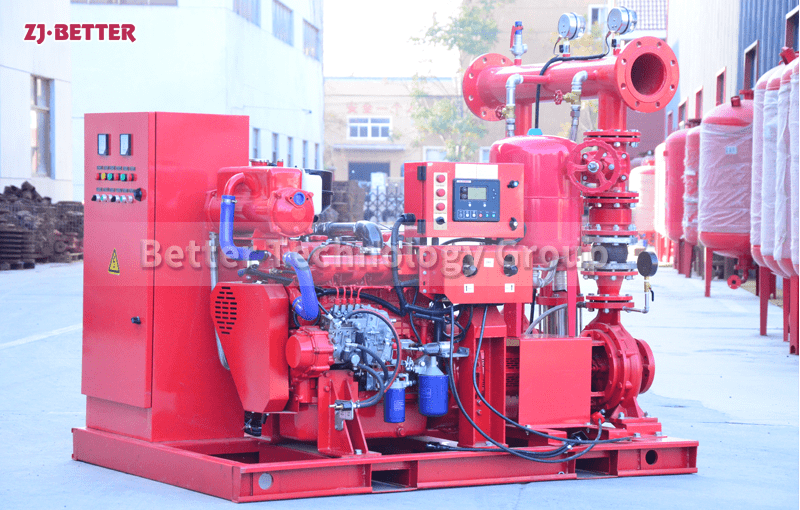
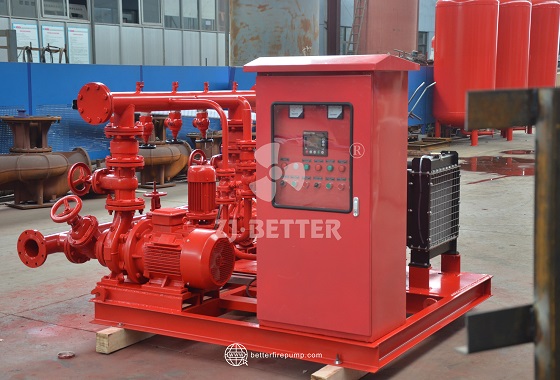
How to set fire pump control?
Setting up the fire pump control system correctly is crucial to ensure the pump operates efficiently and reliably during emergencies. Here are the general steps to set up the fire pump control
Setting up the fire pump control system correctly is crucial to ensure the pump operates efficiently and reliably during emergencies. Here are the general steps to set up the fire pump control:
1. Consult Manufacturer’s Manual: Refer to the manufacturer’s installation and operation manual for specific instructions and guidelines related to your fire pump control panel. Different control panels may have unique setup procedures.
2. Power Supply: Ensure the fire pump control panel is connected to a reliable power supply. Verify that the power source meets the electrical requirements specified in the control panel’s manual.
3. Grounding: Proper grounding is essential for electrical safety. Verify that the control panel is correctly grounded to prevent electric shocks and reduce the risk of electrical fires.
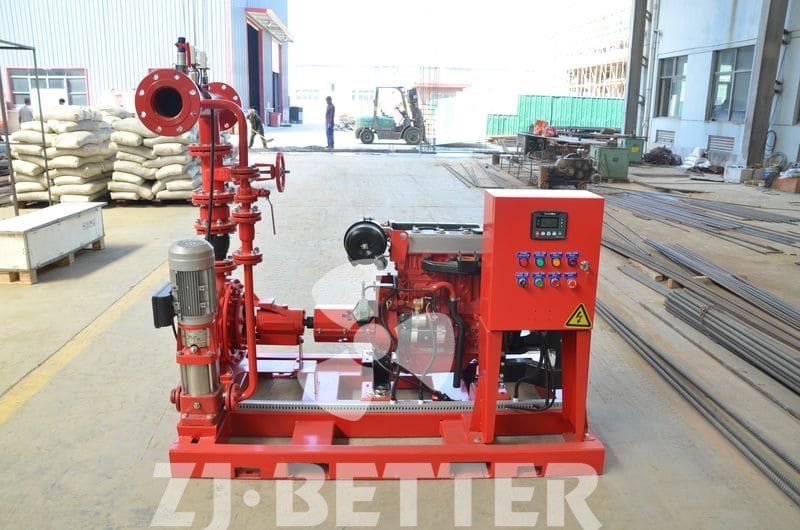
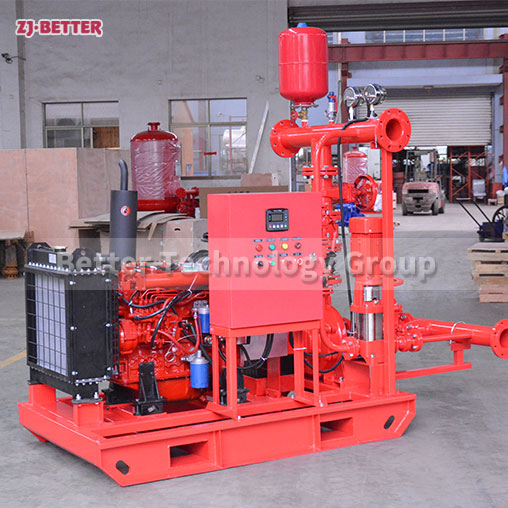
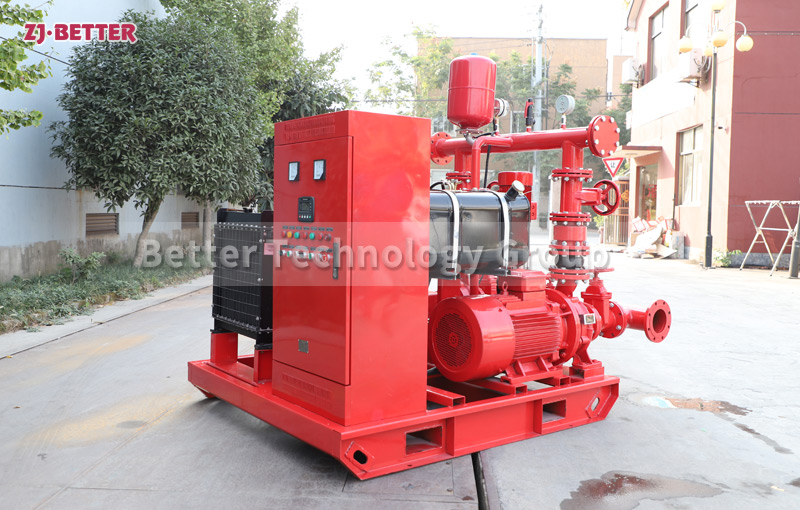
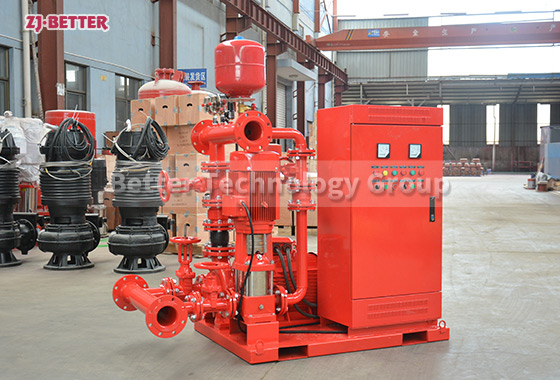
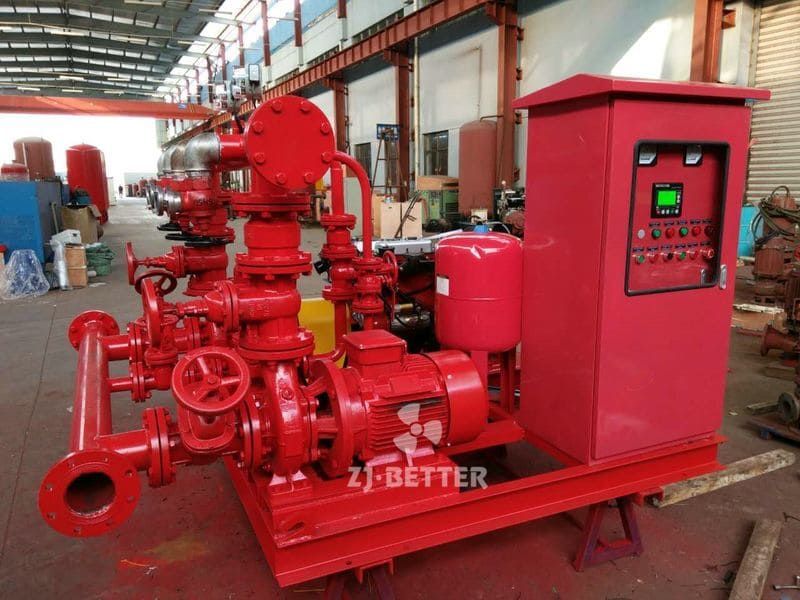
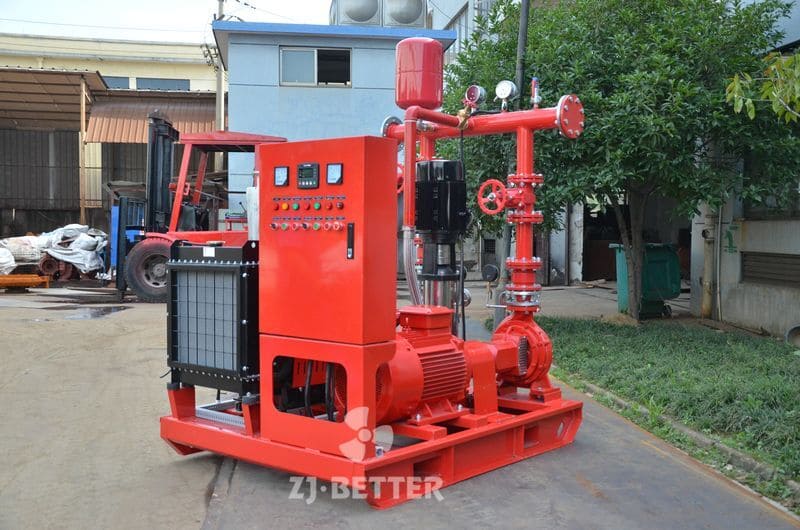
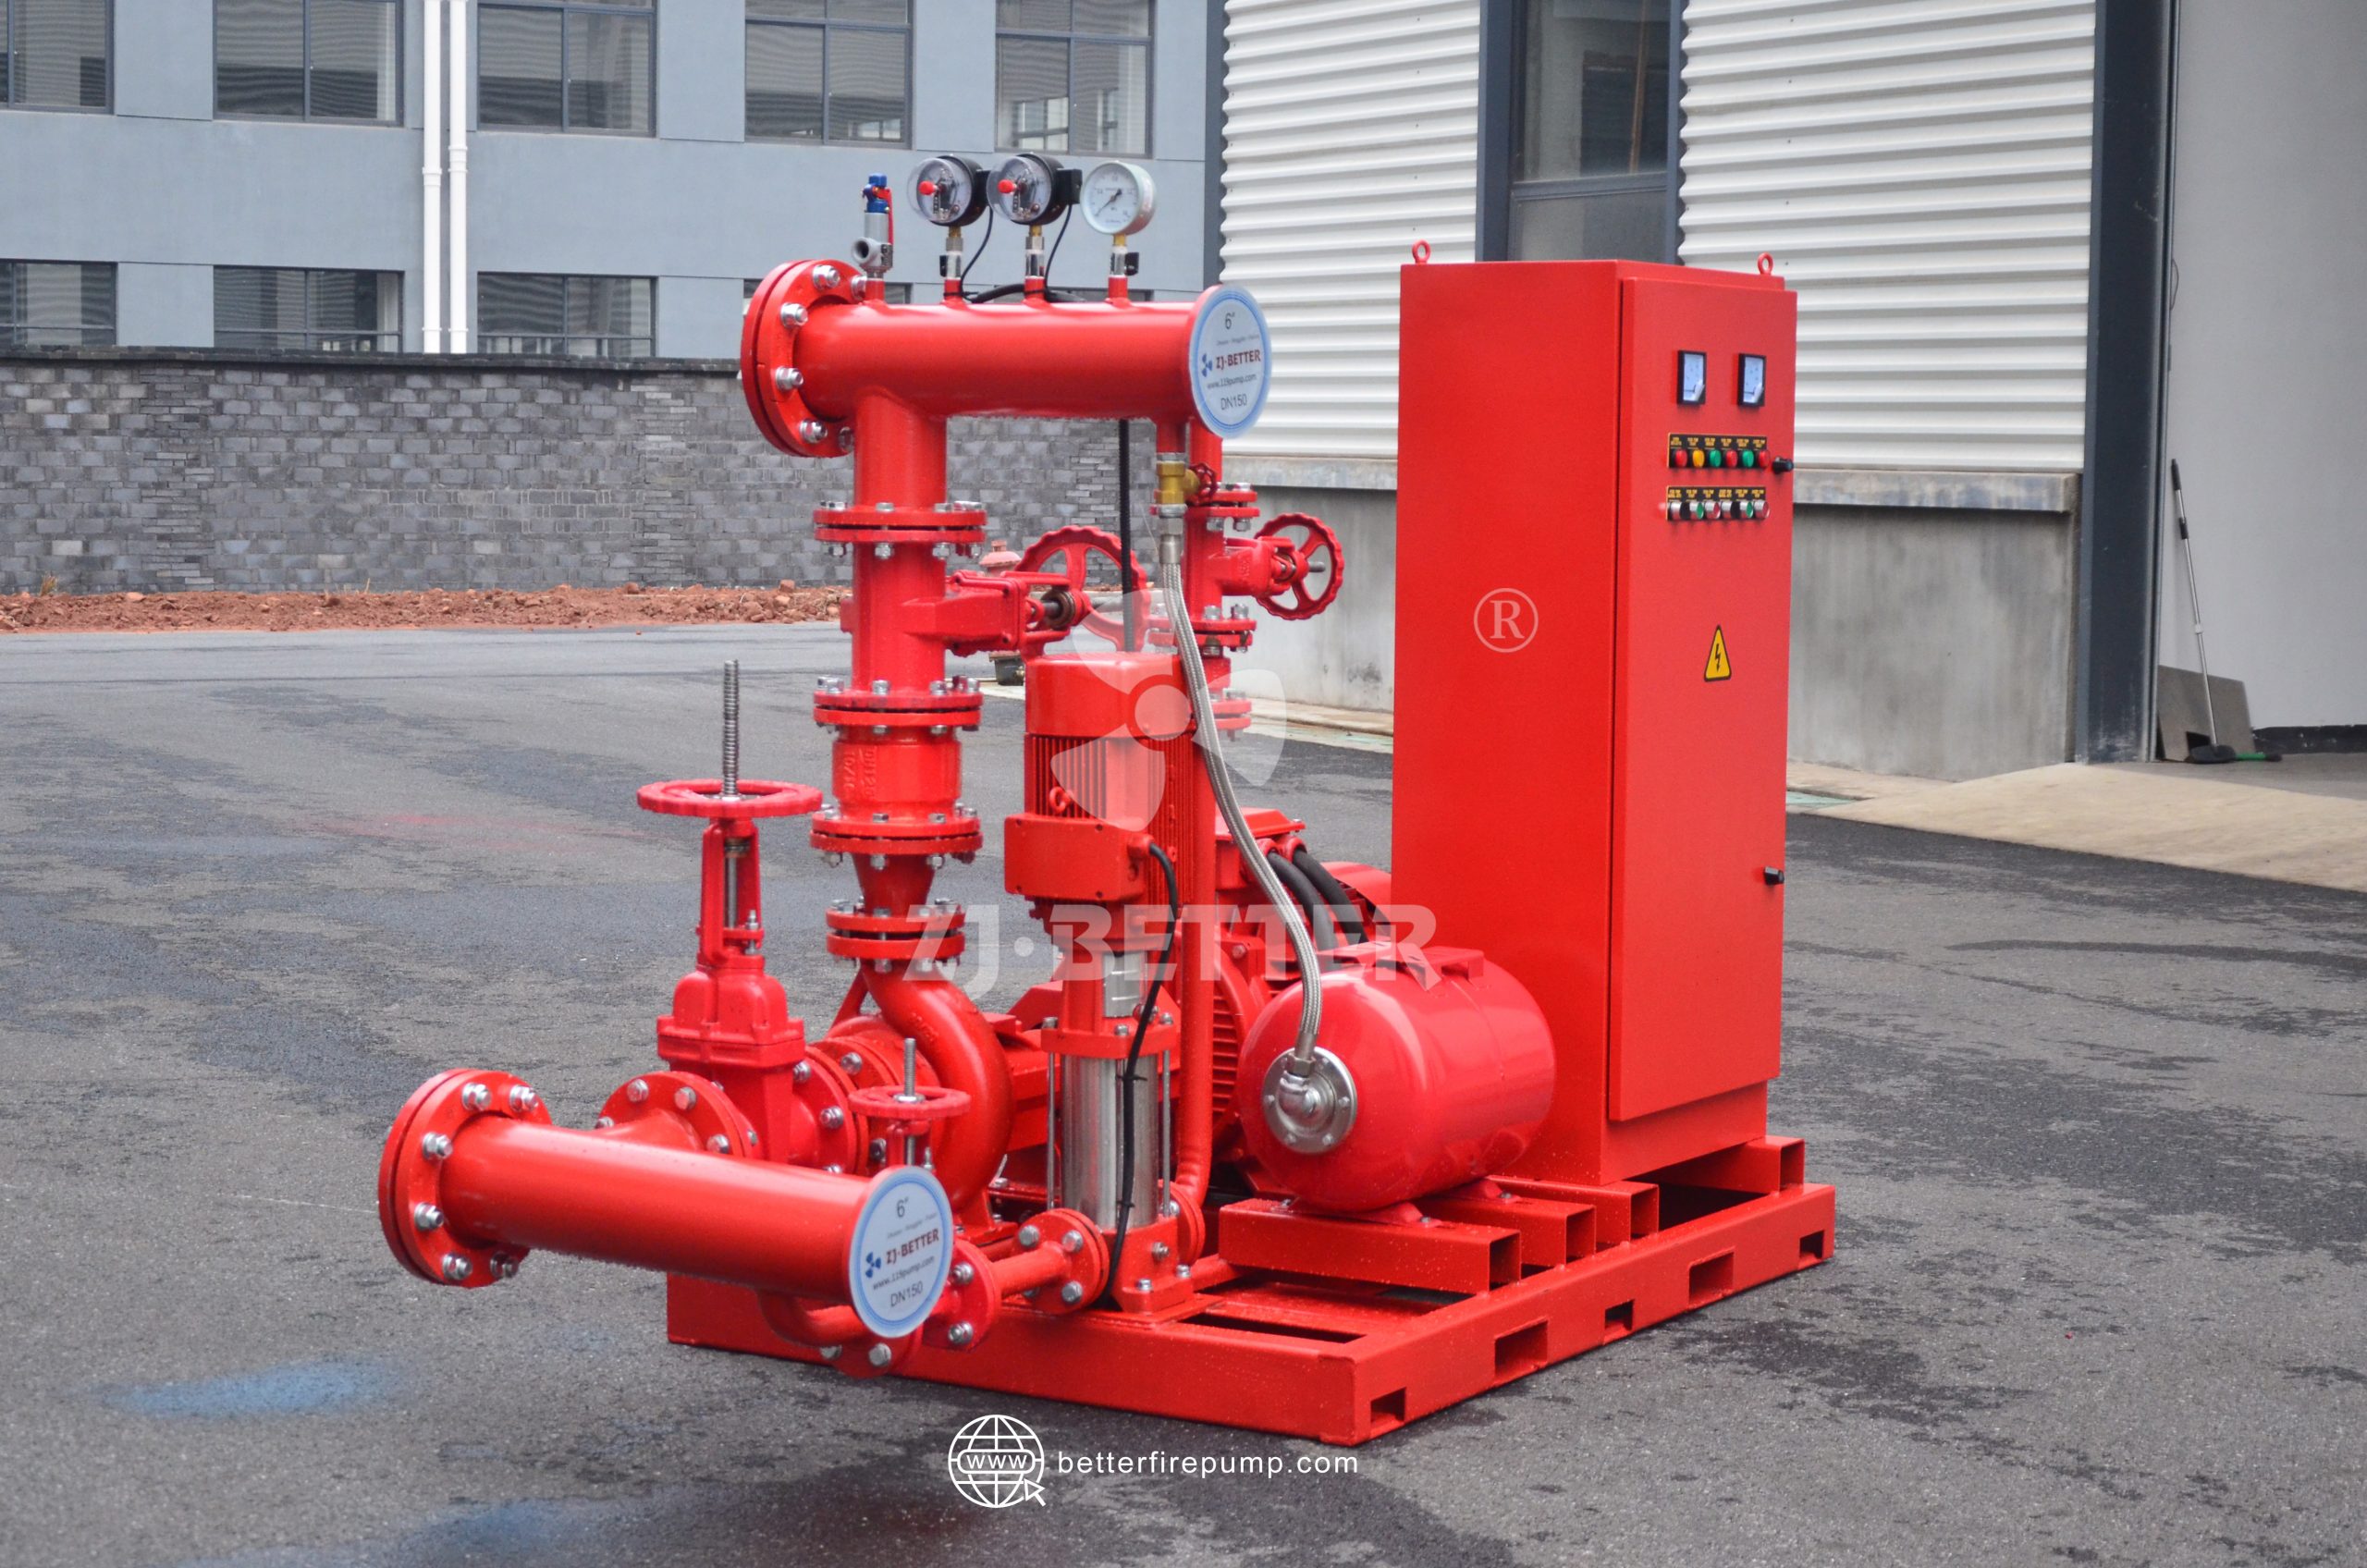
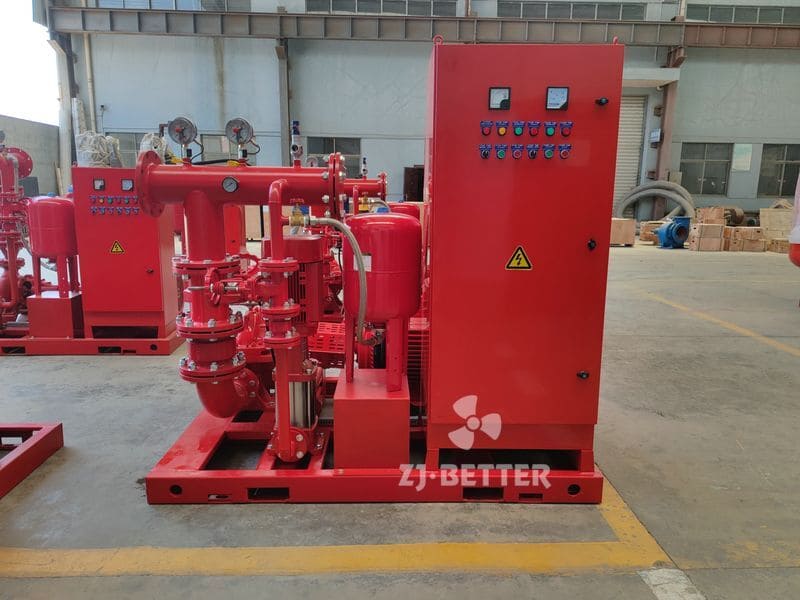
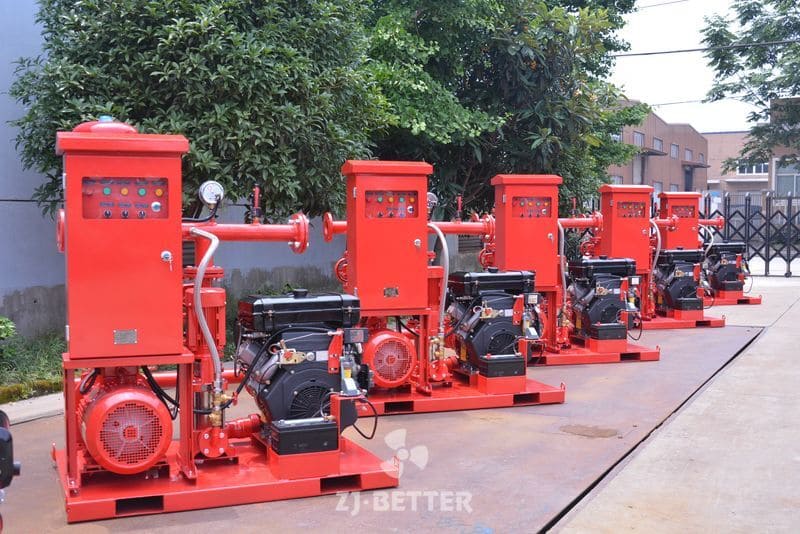
4. Control Panel Components: Familiarize yourself with the various components of the control panel, including buttons, switches, indicators, alarms, and displays. Understand their functions and how they operate.
5. Check Control Logic: Review the control logic of the fire pump system. Understand how the control panel activates and deactivates the pump based on various conditions, such as pressure, flow, and alarms.
6. Wiring Connections: Ensure that all wiring connections are secure and correctly connected according to the manufacturer’s wiring diagrams. Double-check for any loose or damaged wires.
7. Pressure and Flow Settings: Set the desired pressure and flow settings on the control panel. These settings will dictate when the pump should start and stop based on the water demand and firefighting requirements.
8. Alarm Settings: Configure the alarm settings to trigger in case of any abnormal conditions, such as low water pressure, high temperature, or electrical faults. Set the alarm thresholds according to safety standards and local regulations.
9. Emergency Override and Manual Operation: Verify that the control panel has emergency override options and the capability for manual operation. Test these functions to ensure they work as intended.
10. Remote Monitoring (if applicable): If the control panel supports remote monitoring or integration with building automation systems, set up and configure these features according to the manufacturer’s guidelines.
11. Perform System Tests: Conduct system tests to ensure that the control panel correctly activates and controls the fire pump based on simulated conditions. Verify that the pump starts and stops as expected.
12. Emergency Response Plan: Develop an emergency response plan that includes procedures for handling fire pump activation and control during emergencies. Train personnel on the use of the control panel in emergency situations.
13. Regular Inspections: Schedule routine inspections of the control panel to verify its ongoing functionality and perform any necessary maintenance or adjustments.
Remember that the setup of the fire pump control panel should be carried out by qualified professionals or technicians familiar with fire pump systems and electrical installations. Proper setup and maintenance of the control panel are essential for the reliable operation of the fire pump and ensuring it functions effectively during firefighting and emergency scenarios.

